BeastLink Beast Abilities Guide
Every special ability explained: when to use it, what it does, and which Beast learns it first.
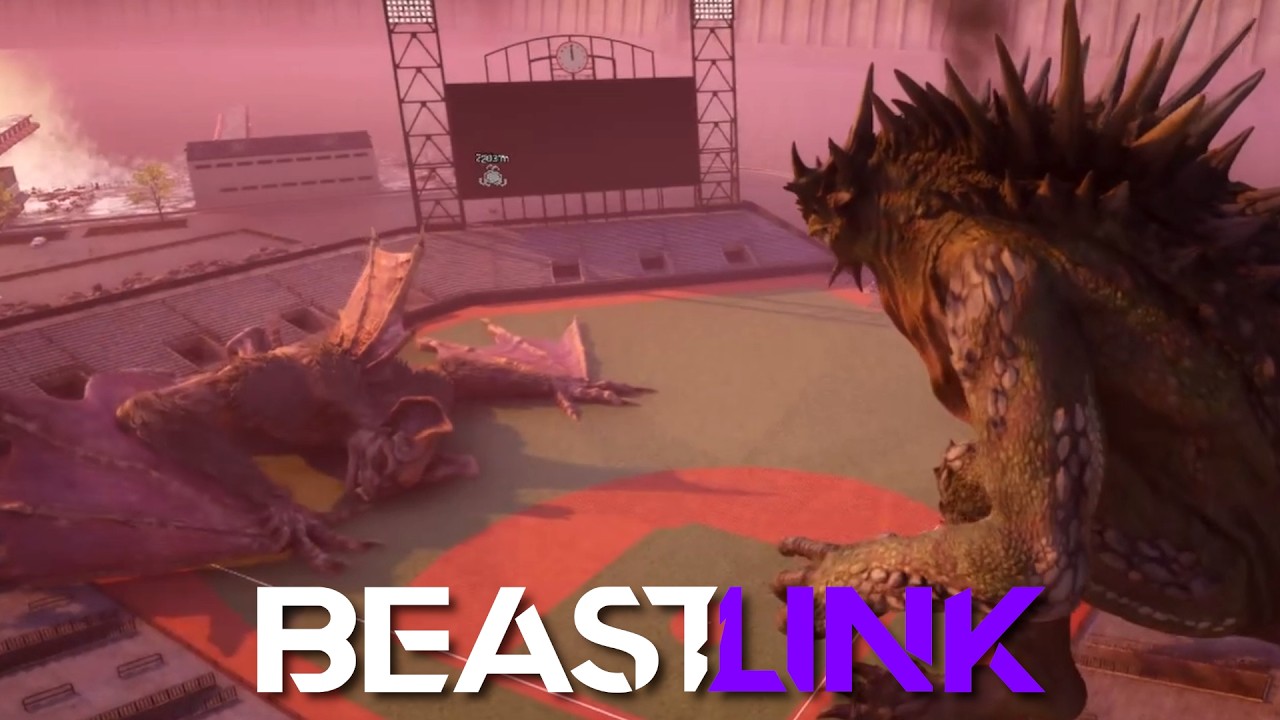
Beast abilities are the difference between piloting a large hitbox and actually controlling a match. The BeastLink beast stats tell you what a creature can survive; the abilities tell you what it can decide. This guide covers every named ability in the Early Access roster, how they interact with each archetype, and the timing habits that separate a Beast pilot from a Beast feed.
How Beast Abilities Shape Combat
Every Beast in BeastLink carries a stat block governing Health Pool, Damage Output, and Mobility Profile. Abilities are where that stat block becomes a loadout. A creature with 12,000 HP but no defensive ability plays completely differently from one with 8,000 HP and a damage-absorption shield — the high-HP Beast holds ground by absorbing punishment, while the shielded Beast creates punishment by making every trade asymmetric.
The ability system also determines your role in team composition. Some abilities reward isolation and dueling; others amplify every ally within earshot. Understanding which ability your Beast carries is the first step toward using it deliberately rather than reactively.
Offensive Abilities That Win Fights
Seismic Slam
The Seismic Slam ability creates a shockwave that damages and staggers everything in a cone in front of the Beast. This is particularly effective when infantry groups cluster around a capture point, because the stagger interrupts their firing lines and leaves them vulnerable to follow-up melee attacks.
| Property | Value |
|---|---|
| Type | Ground-targeted AoE |
| Damage | High (varies by Beast archetype) |
| Stagger Duration | 1.5–2 seconds |
| Cooldown | 18 seconds |
| Best Used When | Infantry cluster on capture points; creating disengage from chase |
The Seismic Slam is the signature tool for Tank archetype Beasts. Its wide cone and generous stagger window let you punish players who thought they were safe behind a rubble wall that no longer exists. Use it to interrupt reloads, break vehicle pursuit, or simply announce your presence before a teamfight.
Plasma Breath
The Plasma Breath ability channels a beam of concentrated energy in a forward arc. The damage ticks rapidly, which makes it excellent for melting through vehicle armor. However, the channel leaves the Beast stationary, so you need to time it carefully when enemy helicopters are circling.
| Property | Value |
|---|---|
| Type | Channeled beam |
| Damage | Very High (rapid tick) |
| Channel Duration | 3 seconds maximum |
| Cooldown | 25 seconds |
| Best Used When | Vehicle armor melting; structure destruction; punishing grouped enemies |
Community testing shows that the full Plasma Breath channel deals roughly three times the damage of a standard melee combo. The tradeoff is the exposure window: you cannot move, aim away, or dodge while channeling. Time Plasma Breath when you have a clear exit path, not when three enemies have sight on your position.
Defensive and Utility Abilities
Reactive Carapace
Not every strong ability deals damage. The Reactive Carapace ability grants a temporary damage reduction buff that scales with the Beast’s missing health. This creates a comeback mechanic where a nearly dead Beast becomes surprisingly tanky, which can bait enemy teams into overcommitting.
| Property | Value |
|---|---|
| Type | Self-buff |
| Damage Reduction | Scales from 15% to 45% based on missing HP |
| Duration | 5 seconds |
| Cooldown | 30 seconds |
| Best Used When | Below 40% HP; baiting overcommitted enemies; creating escape windows |
The Reactive Carapace is counterintuitive: the worse your position, the stronger the ability becomes. This makes it a high-skill tool that rewards reading match state. Pop it when you are low, pretend to retreat, and turn on players who think they have an easy kill.
Roar of Command
The Roar of Command utility ability buffs nearby friendly infantry and vehicles, increasing their damage output by a percentage for a short duration. While this does not directly help the Beast, coordinated squads use it to push objectives with overwhelming force.
| Property | Value |
|---|---|
| Type | Ally buff aura |
| Damage Boost | 20% for allies in range |
| Radius | Medium (~30 meters) |
| Duration | 8 seconds |
| Cooldown | 40 seconds |
| Best Used When | Coordinated objective pushes; supporting allied Beasts; creating burst windows |
The Roar of Command is the most team-dependent ability in the roster. Alone, it provides modest pressure. With a squad that communicates, it turns every push into a damage amplifier that punishes opponents for standing near your team.
Beast Archetypes and Their Ability Types
The current Early Access roster splits into three broad archetypes, each with a signature ability profile:
Tank Beasts
| Trait | Value |
|---|---|
| Base HP Range | 10,000 – 14,000 |
| Melee Damage Range | 400 – 600 per hit |
| Move Speed | Slow |
| Signature Ability | Seismic Slam |
| Secondary Ability | Reactive Carapace |
| Best Use Case | Holding capture zones, blocking vehicle paths, absorbing focused fire |
Tank Beasts should anchor on objectives and let the fight come to them. Use Reactive Carapace when your HP drops below 30% to maximize the damage reduction value. Do not chase Rushers across the map; your speed difference means you will waste time and expose your backline.
Striker Beasts
| Trait | Value |
|---|---|
| Base HP Range | 7,000 – 9,500 |
| Melee Damage Range | 700 – 1,000 per hit |
| Move Speed | Medium |
| Signature Ability | Plasma Breath |
| Secondary Ability | Seismic Slam |
| Best Use Case | Punishing infantry clusters, destroying structures, burst damage |
Striker Beasts need to pick their windows carefully. Wait for infantry to cluster, then unleash Plasma Breath for maximum value. Do not waste the ability on a single target when two or three enemies are grouped together.
Rusher Beasts
| Trait | Value |
|---|---|
| Base HP Range | 5,500 – 7,000 |
| Melee Damage Range | 500 – 750 per hit |
| Move Speed | Fast |
| Signature Ability | Roar of Command |
| Secondary Ability | Reactive Carapace |
| Best Use Case | Flanking vehicles, chasing down retreating squads, disruption |
Rusher Beasts should prioritize enemy vehicles and isolated squads. Your speed is your survival tool, so never stop moving in open ground. Use Roar of Command to amplify nearby allies while you create chaos in the backline.
Upgrade Priority by Archetype
The Serum you earn can be spent on Beast upgrades, and the optimal upgrade path depends on your archetype:
| Archetype | First Priority | Second Priority | Third Priority |
|---|---|---|---|
| Tank | Health Pool | Cooldown Reduction | Ability Power |
| Striker | Ability Power | Cooldown Reduction | Health Pool |
| Rusher | Move Speed | Melee Damage | Cooldown Reduction |
Tank Beasts prioritize Health Pool upgrades first because your job is to absorb damage and hold space. Striker Beasts benefit most from Ability Power and Cooldown Reduction, since your abilities are your primary damage source. Rusher Beasts want Move Speed and Melee Damage to close gaps faster and finish targets in fewer hits.
Ability Timing Tips
Do Not Waste Abilities on Single Targets
Every ability has a significant cooldown. Using Seismic Slam on a single retreating player is a waste when that same ability could have staggered an entire squad pushing your position. Read the match state before you press the button.
Save Defensive Abilities for the Right Moment
Reactive Carapace is strongest when you are low. If you pop it at 80% HP, you waste most of the scaling damage reduction. Wait until you are genuinely pressured, not just cautious.
Channeled Abilities Need Exit Plans
Plasma Breath is a commitment. Before you start channeling, identify your escape route and confirm it still exists. A collapsed building between you and your exit turns a planned burst into a feeding opportunity.
Use Roar of Command Proactively, Not Reactively
The best time to use Roar of Command is before a fight starts, not during it. Call your push, activate the buff, then move with your squad into the engagement. Reactively dropping it mid-fight rarely recovers a lost position.
Early Access Ability Limitations
The Early Access roster contains a portion of the full ability pool planned for 1.0. The developer has confirmed that each new Beast introduced through updates will ship with at least one unique ability, which means the strategic meta will keep evolving. Track patch notes for balance changes to existing abilities and announcements about upcoming additions.
Related Reading
For pairing abilities with a Beast that fits your playstyle, see the Beast Tier List and Beast Compare Tool. For understanding how ability use fits into the larger match flow, read How to BeastLink and How to Play BeastLink. For destruction tactics that combine with ability use, see SuperDestruction Guide.
Frequently Asked Questions
Quick answers grounded in what BeastLink players ask most.
What is the strongest Beast ability in BeastLink?
Seismic Slam is the most consistently impactful ability because its AoE stagger works in every game state. Plasma Breath has higher burst potential but requires a channel window that opponents can exploit.
How do I use Reactive Carapace effectively?
Save it for when your HP drops below 40%. The damage reduction scales with missing health, so popping it at 80% wastes most of the benefit. Use the bait-and-turn pattern: pretend to flee, activate at low HP, then punish enemies who overcommit.
Which Beast ability should beginners learn first?
Start with Seismic Slam on a Tank Beast like Horned Lizard. It is the easiest ability to use effectively and teaches you the fundamentals of reading group positioning before you move to more complex channeled abilities.
Are abilities the same across all Beasts?
No. Each Beast archetype has signature abilities that match its role. Tanks get Seismic Slam and Reactive Carapace; Strikers get Plasma Breath; Rushers get Roar of Command. New Beasts arriving in updates will expand the pool.
How often do abilities get balance changed?
The developer has shown a willingness to rebalance based on Early Access feedback. Expect cooldown adjustments, damage tuning, and new ability additions through the EA period leading to 1.0.